The 15-Minute Dinner Trick That Makes Cheap Pasta Taste Like a Proper Restaurant Dish
Prep Time: 5 minutes | Cook Time: 10 minutes | Total Time: 15 minutes | Serves: 2–3 | Est. 480 calories per serving
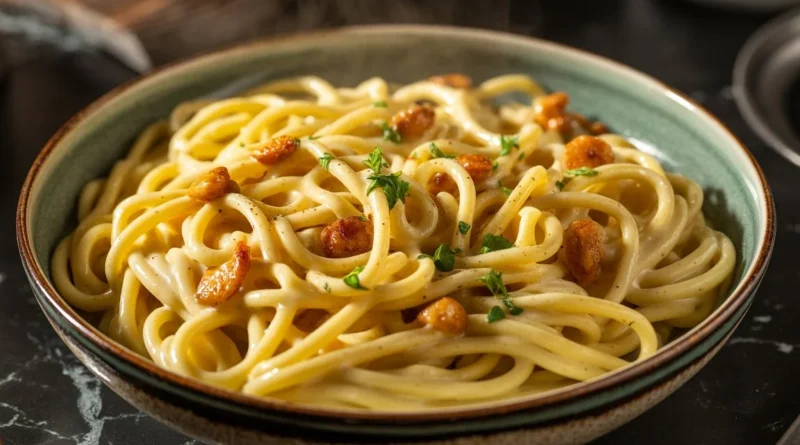
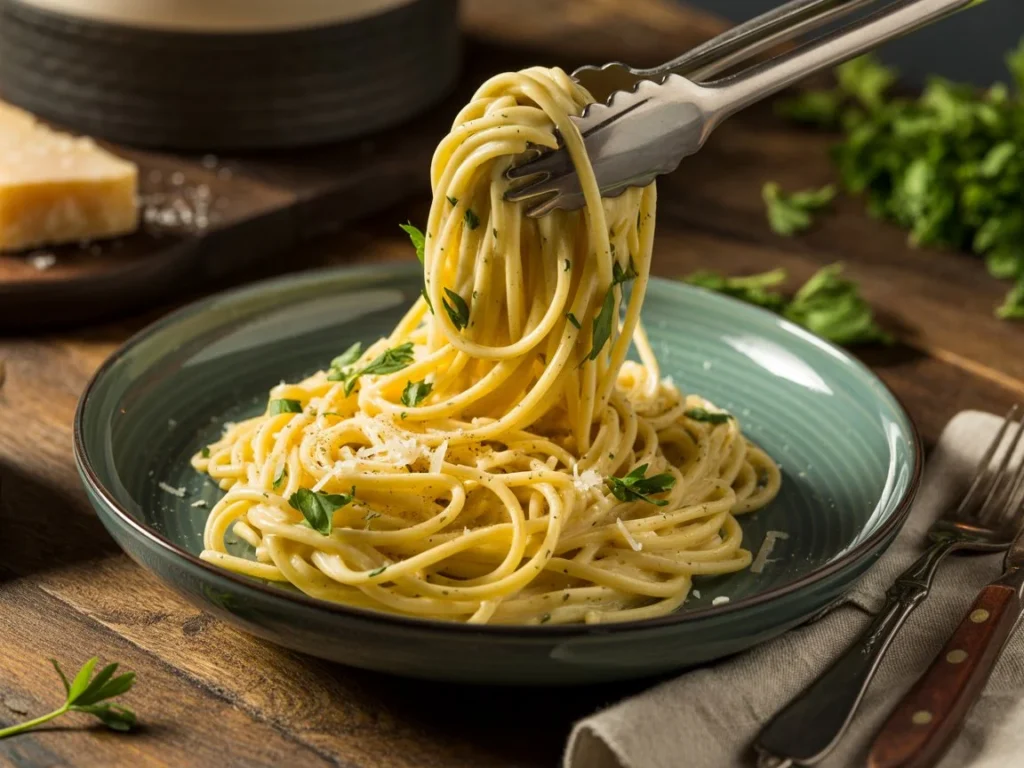
You already know what a restaurant pasta tastes like. That glossy, creamy sauce that coats every strand rather than pooling at the bottom of the bowl. That deep, savory finish that makes you reach for another forkful before you have finished the first. Here is what most home cooks don’t realize: that texture and that flavor have almost nothing to do with expensive ingredients or hours of simmering. They come from one specific technique that professional kitchens use every single service — and that the average weeknight recipe forgets to mention entirely. This post exists to close that gap. In 15 minutes, using pasta that costs less than two dollars, you can produce a bowl that genuinely tastes like someone spent the evening on it.
The Real Reason “Quick Pasta” Recipes Disappoint
Before the technique, it helps to understand what goes wrong. Most 15-minute pasta recipes fail at the same three points. First, the pasta gets drained completely — every drop of starchy cooking water goes down the sink, and with it goes the single most powerful binding agent in the entire dish. Second, cold jarred sauce gets added directly to hot pasta, which instantly drops the pan temperature and prevents the emulsification that creates a creamy, clinging coating. Third, the whole thing gets plated immediately, with no resting, no folding, and no fat finish — which means the sauce separates within two minutes of hitting the bowl. The result is thin, slippery, flat-tasting pasta that no amount of extra Parmesan can rescue.
Kitchen Trial Note
When I first started testing this method, I genuinely did not believe that pasta water was doing anything meaningful. It felt like one of those vague tips that food writers repeat without checking. So I ran the same recipe both ways on the same evening — one batch with the pasta water reserved and folded in, one batch without. The difference was not subtle. The batch without pasta water produced a thin sauce that slid off the linguine and collected at the base of the bowl. The batch with pasta water produced something genuinely glossy and rich, with a sauce that clung to every strand and stayed creamy from the first forkful to the last. That was the last evening I ever drained pasta over a sink without a mug sitting underneath the colander.
Why This Works: The Gap Logic
The science here is straightforward. Pasta cooking water contains dissolved starch — a natural emulsifier. When you add that starchy water to a pan containing fat (butter or olive oil) and heat, the starch molecules link the fat and water together into a stable, creamy, velvety emulsion. This is the exact same principle behind a properly made cacio e pepe or a classic carbonara. The sauce does not just sit on the pasta — it binds to it at a molecular level, which is why restaurant pasta always looks different from the home version. Generic quick-pasta recipes skip this step either because they assume home cooks won’t bother, or because they’re building around jarred sauce that wasn’t designed to emulsify. This recipe is built entirely around the emulsification window — the 90-second period after the pasta hits the pan where the sauce goes from loose to perfectly creamy. Everything else is just supporting that moment.
The Ingredient List (Short, Deliberate, Effective)
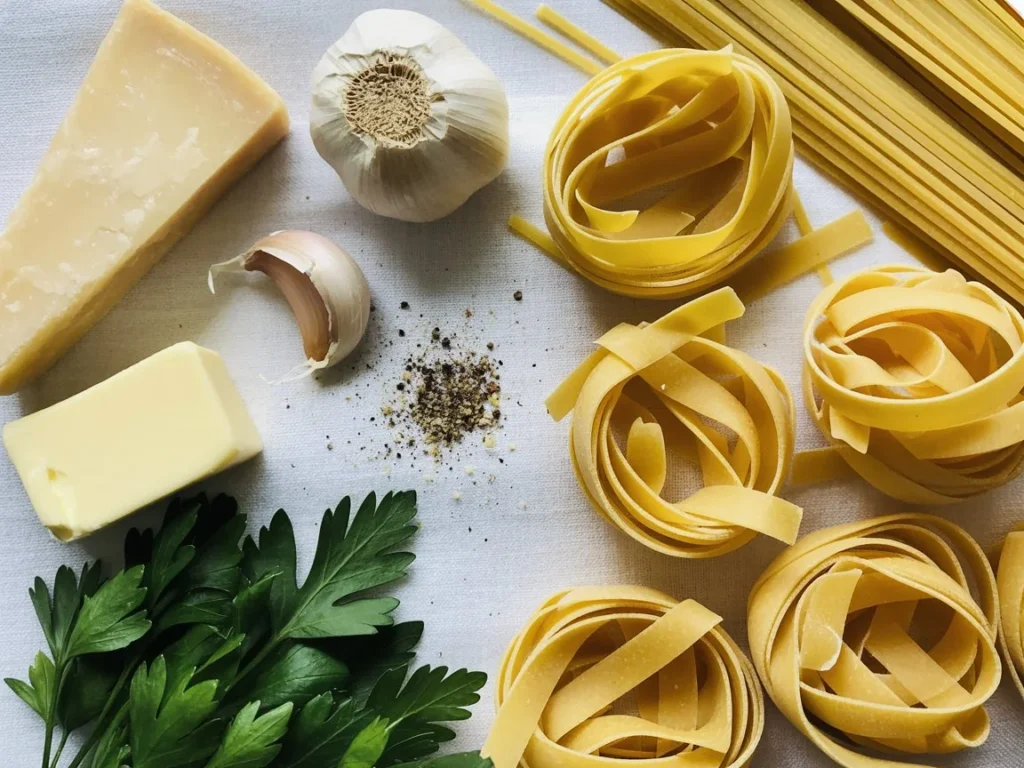
- 200g linguine or spaghetti — long pasta grabs the sauce better than short shapes
- 3 tbsp unsalted butter — not oil; butter’s milk solids contribute to the creamy body
- 4 garlic cloves, finely grated — grated, not sliced; grated garlic melts into the sauce rather than staying in discrete pieces
- 120ml dry white wine or chicken stock — the deglazing liquid that lifts the fond and adds savory depth
- 80ml reserved pasta water — non-negotiable; pull it before you drain
- 50g finely grated Parmesan — grated on a Microplane, not pre-shredded; pre-shredded contains anti-caking agents that prevent smooth melting
- Salt and cracked black pepper — seasoned at every stage, not just at the end
- Fresh parsley or basil — added off-heat to preserve the volatile aromatics
Step-by-Step Instructions
Step 1 — Boil with intention (0:00–9:00) Bring a pot of water to a rolling boil and salt it until it tastes like mild seawater — roughly one tablespoon of salt per four litres. Under-salted pasta cannot be rescued at the sauce stage. Drop the linguine and cook it 90 seconds short of the packet’s recommended time. It will finish cooking in the pan. Pro-Tip: Set a mug or heatproof jug next to the pot as a reminder to scoop pasta water before draining. Do it before you drain — once the water is gone, it is gone.
Step 2 — Build the base (3:00–5:00) While the pasta cooks, melt butter in a wide skillet over medium heat. Add the grated garlic and let it bloom for 60–90 seconds until it smells nutty and turns just barely golden. Do not let it brown past golden — bitter garlic will define the whole dish. Pro-Tip: A wide skillet matters. More surface area means faster sauce reduction and better emulsification. A deep saucepan traps steam and stalls the process.
Step 3 — Deglaze and reduce (5:00–7:00) Pour in the wine or chicken stock. Let it bubble and reduce by half — this takes roughly 90 seconds over medium-high heat. You are concentrating the savory flavor and cooking off the raw alcohol edge. Pro-Tip: Tilt the pan slightly and watch the bubbles. When they slow from vigorous to steady and the liquid coats the bottom of the pan thinly, you have hit the right reduction.
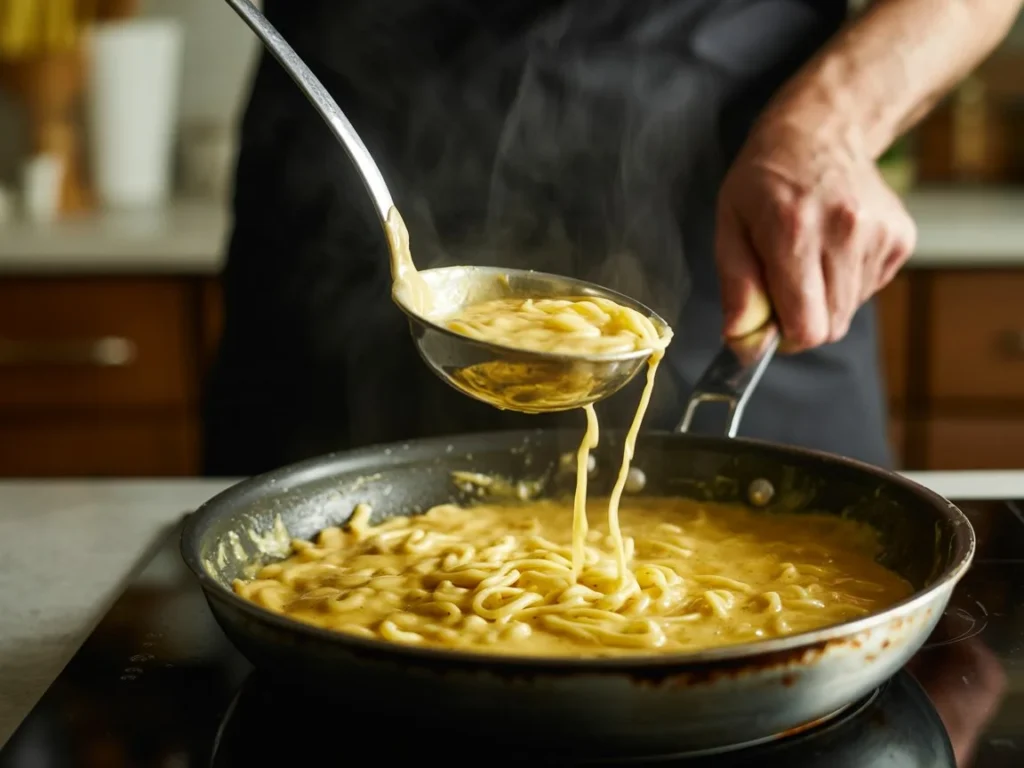
Step 4 — Fold in the pasta (9:00–12:00) Using tongs, transfer the pasta directly from the pot into the skillet — do not dump it, fold it in — and immediately ladle in 60ml of the reserved pasta water. Toss continuously, coating every strand. The starch will begin binding with the butter and reduction almost immediately. Pro-Tip: Adding pasta with tongs rather than draining separately means a little extra water clings to the pasta, which helps the emulsification start faster.
Step 5 — Emulsify the sauce (12:00–14:00) Remove the pan from the heat. Add the grated Parmesan in two additions, tossing between each. The residual heat will melt the cheese without scrambling it. If the sauce tightens too quickly, add the remaining pasta water in a small splash and toss again until you achieve a glossy, creamy coating that moves with the pasta rather than sitting beneath it. Pro-Tip: Off-heat finishing is the most important step. Direct heat curdles the cheese and breaks the emulsion. Pull the pan, add the cheese, and trust the residual warmth to do the work.
Step 6 — Plate and finish (14:00–15:00) Twirl the pasta into warmed bowls using tongs for height. Crack black pepper generously over the top, scatter the fresh herbs, and add a final small shaving of Parmesan. Serve immediately — emulsified pasta sauces begin to tighten as they cool. Pro-Tip: Warm your bowls by filling them with hot water for 60 seconds while you plate. Cold bowls shock the sauce and cause it to seize within minutes.
The Texture Checkpoint
Too thick: The sauce is gluey and clumps around the pasta. Fix — add a small splash of pasta water and toss off-heat for 20 seconds. Too thin: The sauce pools at the bottom and doesn’t coat the strands. Fix — return to medium heat for 30 seconds, tossing constantly, until it tightens. Just right: The sauce moves with the pasta when you tilt the bowl, coats the back of a spoon in a thin even layer, and looks visibly glossy under light.
Three Variations, Same Technique
Weeknight pantry version: Swap the wine for pasta water entirely and add a teaspoon of white miso to the butter for instant savory depth. Elevated date-night version: Add 80g of frozen peas and a handful of crispy pancetta with the garlic. Finish with lemon zest off-heat. Protein-add version: Fold in two cups of shredded rotisserie chicken with the pasta in Step 4. The residual warmth heats it through without drying it out.
What to Serve Alongside
A simple dressed arugula salad — leaves, lemon juice, olive oil, salt — takes three minutes and cuts through the richness of the sauce cleanly. Alternatively, slice a baguette and warm it in a dry pan for two minutes per side while the pasta cooks. Both sides are ready within the same 15-minute window and require zero additional pots.
Storage and Reheating
Store leftovers in an airtight container for up to two days. To reheat, add the pasta to a skillet over low heat with a tablespoon of water or milk and toss gently until the sauce loosens and re-emulsifies. The microwave breaks the emulsion and produces a greasy, separated result — avoid it entirely for cream-based pasta sauces.
The technique described here — blooming aromatics, deglazing, folding in pasta, emulsifying off-heat — is not a specific recipe. It is a transferable method that works across dozens of flavor combinations. Once you understand why each step exists, a genuinely creamy, savory, restaurant-quality pasta stops being a 45-minute project and becomes a reliable 15-minute weeknight staple. Save this post, try the method tonight, and when you do — drop a note in the comments about which variation you made first.