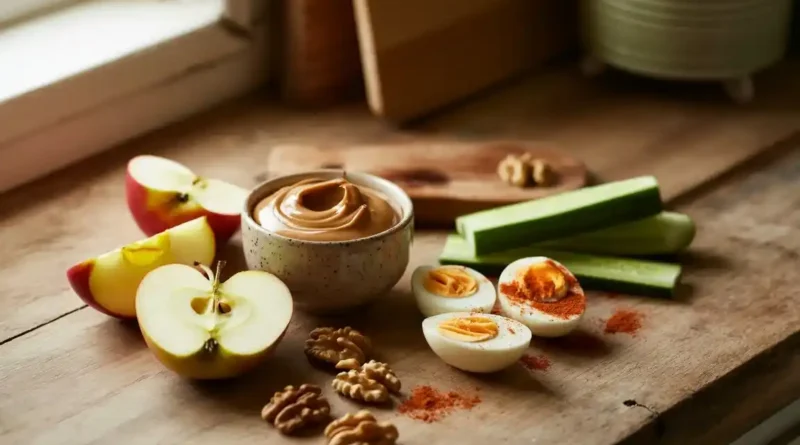
Easy Snack Ideas Satisfying Fresh Bites That Actually Fill
The last time I grabbed a rice cake thinking it would hold me over until dinner, I was rummaging through
Read More
The last time I grabbed a rice cake thinking it would hold me over until dinner, I was rummaging through
Read More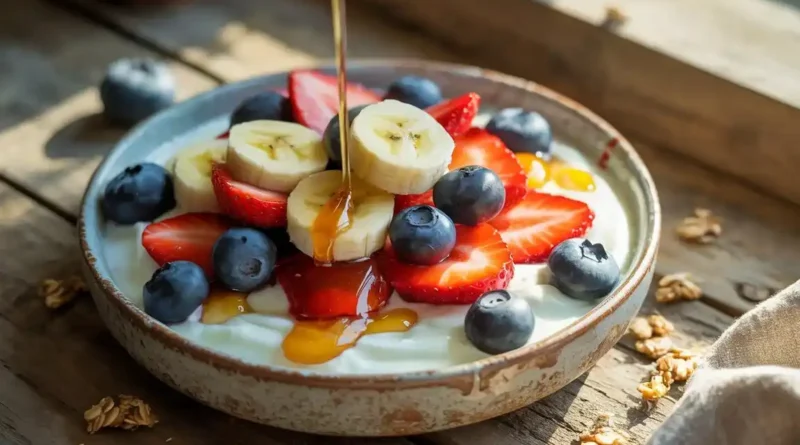
There was a Wednesday morning about two years ago when I blended what I was convinced would be the most
Read More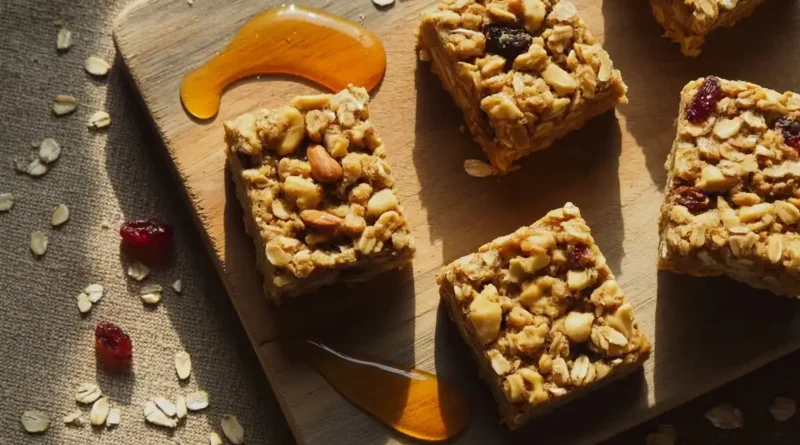
The first time I made these, I cut them too early, handed my seven-year-old a crumbling, lukewarm square, and watched
Read More
You walk past a smoothie bar, glance at the menu, and see $11.50 for a 16-ounce cup. You keep walking.
Read More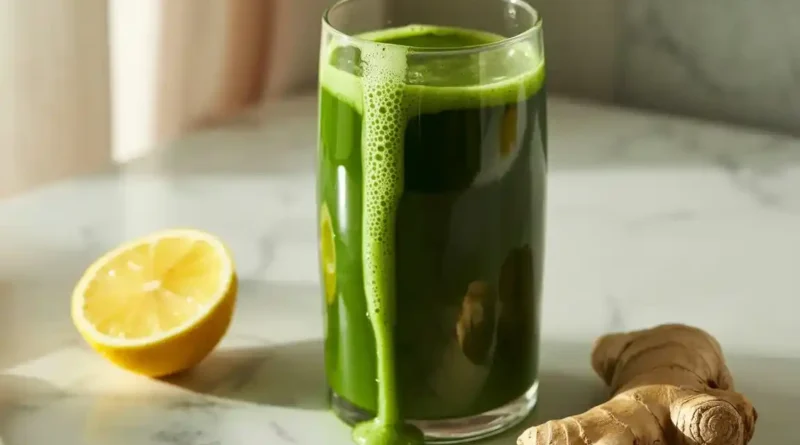
Most people who try a green juice once never try it again. The color looks promising, the first sip is…
Read More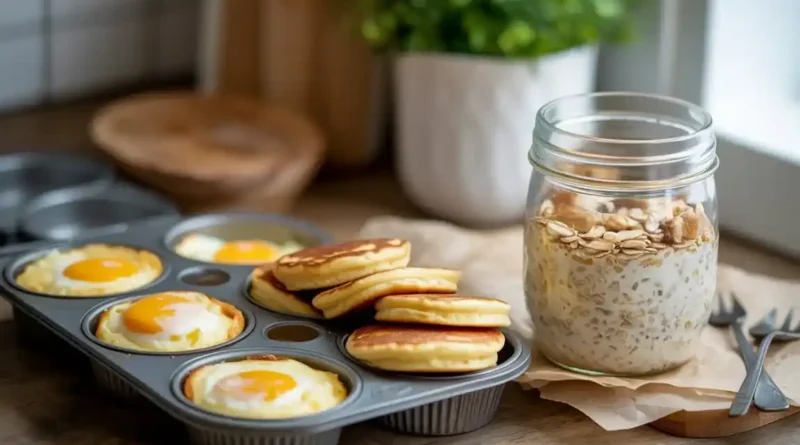
You already know what a bad grab-and-go breakfast feels like: a granola bar that disintegrates into your bag, a banana
Read More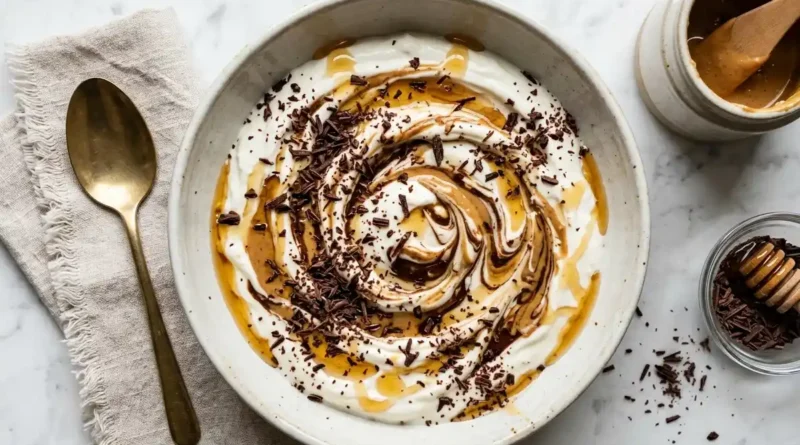
It is 3pm. You are not hungry exactly — but something is pulling you toward the kitchen anyway. That low-grade,
Read More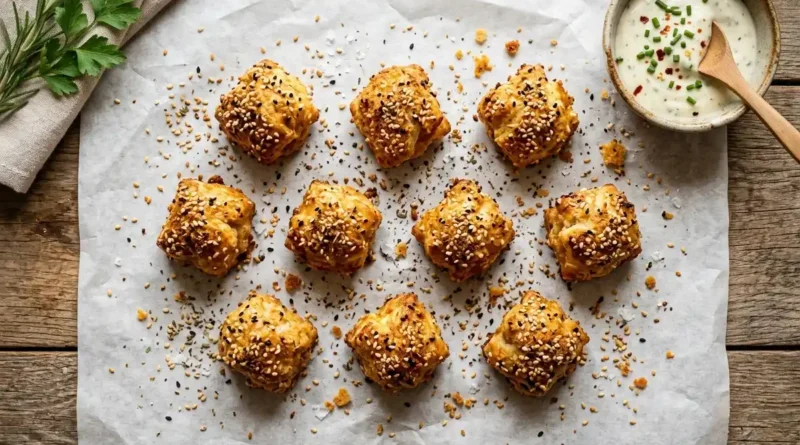
You already know the vending machine tax — that quiet $1.50 drain every school day, multiplied by however many kids
Read More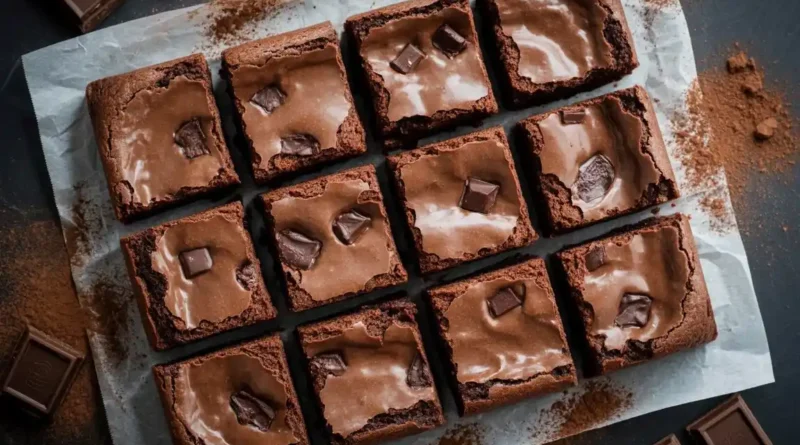
You know the brownie. The one where the knife slides through without resistance, the top carries that unmistakable glossy crinkle
Read More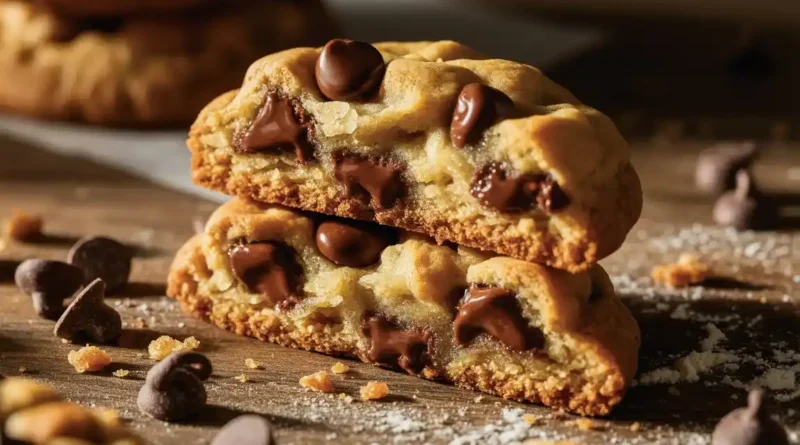
You bite in. The edge snaps — that satisfying, paper-thin crisp that resists just enough before giving way. Then the
Read More