
3 Ingredients, One Pan, a Juicy Chicken Dinner the Whole Family Actually Finishes
Prep Time: 5 minutes | Cook Time: 20 minutes | Total Time: 25 minutes | Serves: 4 | Est. 410 calories per serving
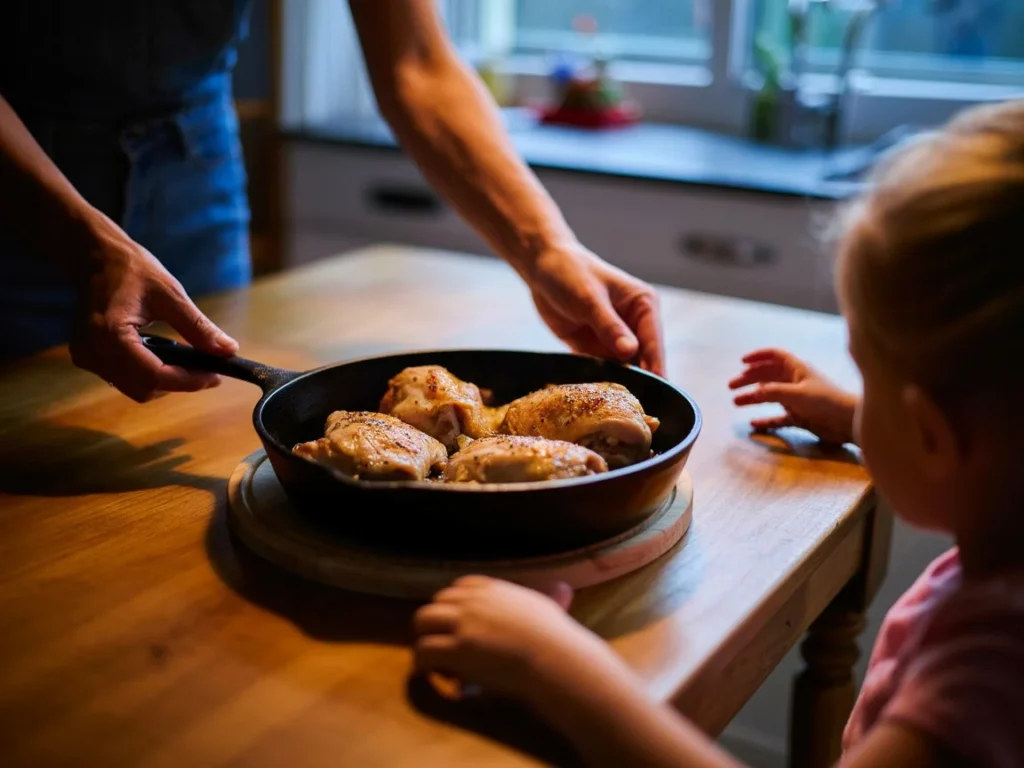
It is 6:45 PM. You have about twenty minutes before the questions start — “what’s for dinner?” delivered in that specific tone that makes takeout feel like a reasonable life choice. You open the fridge, and there is not much there. Chicken thighs, something sticky and sweet on the door shelf, a lemon sitting alone in the corner. Here is what nobody tells you about that exact moment: you do not need more ingredients. You need better technique applied to fewer of them. This one-pan chicken dinner uses exactly three ingredients, produces a golden, caramelized crust with a tender, juicy interior, and will be on the table before the family has finished arguing about where to sit. More importantly — and this is the part worth paying attention to — it is the kind of dinner that gets requested again before the week ends.
Why Most “Easy Chicken Dinners” Still Feel Like Work
The promise of an easy weeknight chicken recipe almost always lies. The ingredient list starts at five items and quietly grows to twelve by the time you factor in the marinade, the three different spices, and the fresh herb that you definitely don’t have. Then there are two pans, inconsistent cook times that depend entirely on whether your chicken breast was thin-cut or standard, and a result that swings wildly between dry and underdone depending on your oven’s mood that evening. Families don’t default to takeout because they are lazy. They default to takeout because the gap between “easy recipe” and actual ease has never been properly closed. This recipe closes it — not by cutting corners, but by applying culinary logic to a shorter ingredient list.
Kitchen Trial Note
The first time I made this, I was genuinely testing whether three ingredients could hold a dinner together without feeling like a compromise. My youngest had been going through a phase of pushing plates away — the kind where you spend forty minutes cooking something and it gets two bites before the verdict comes in. I put this pan on the table without any introduction. No “I made something special tonight,” no negotiation. Golden chicken, pan sauce pooled around it, nothing else complicated on the plate. The plate came back empty. Not just finished — scraped. That was the moment I stopped treating ingredient count as a measure of effort or quality, and started treating technique as the real variable.
Why This Works: The Gap Logic
Most 3-ingredient recipes treat the format as a quantity exercise — pick three things, combine them, call it done. This recipe treats it as a flavor concentration exercise, and the distinction matters enormously. When bone-in chicken thighs render in a dry pan, the fat that releases becomes the cooking medium for everything that follows. That fat carries the flavor of the chicken itself — savory, deeply golden, with a richness that no added oil can replicate. When the glaze hits that fat-coated pan during the final minutes of cooking, it doesn’t just coat the surface — it caramelizes against the rendered fat, builds a lacquered crust, and then, when you deglaze the pan drippings at the end, the entire flavor of the cook concentrates into a sauce that tastes like it has been reducing for an hour. Three ingredients. Four distinct flavor moments. That is the structural difference between this and every other quick chicken recipe currently sitting in someone’s saved folder, untried.
The Ingredient Logic (Why These Three, Specifically)
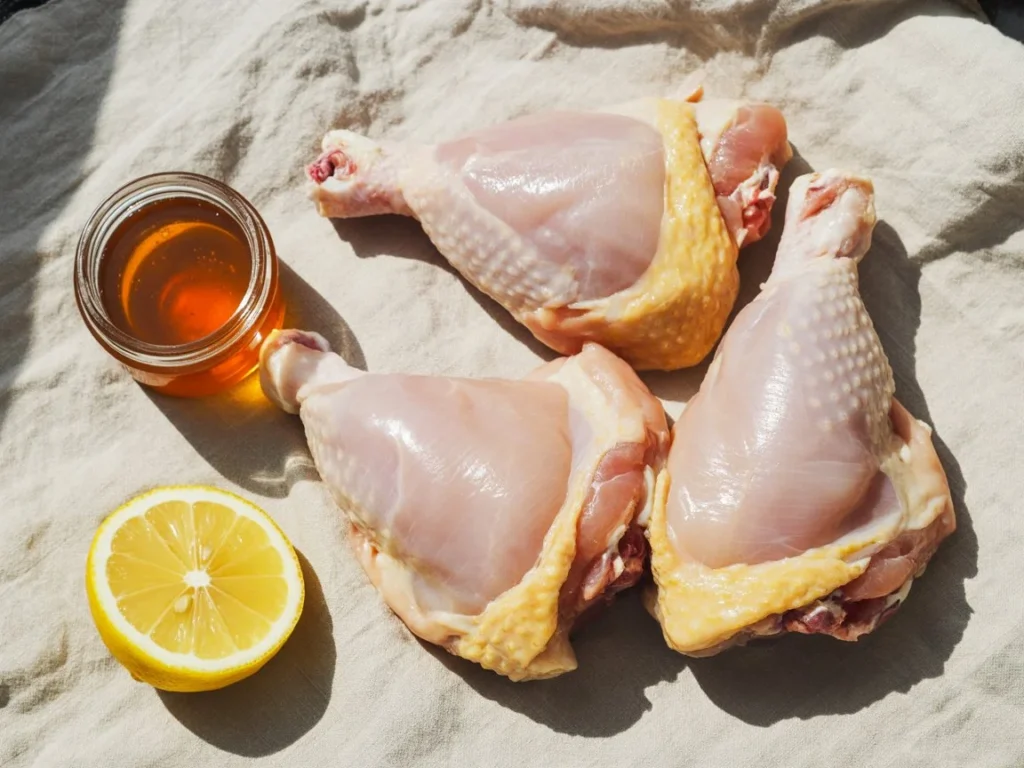
- 4 bone-in, skin-on chicken thighs — Thighs over breasts, always, for this method. The higher fat content means they are forgiving on heat — they do not dry out in the window between perfectly cooked and slightly overdone. The bone conducts heat inward, producing a tender interior even when the exterior is deeply golden and caramelized.
- 3 tablespoons honey — The glaze agent. Honey caramelizes at a lower temperature than sugar, which means it builds that lacquered, golden crust within minutes rather than requiring prolonged oven time. It also retains surface moisture, which is what keeps the chicken from tightening up during the final cook.
- 1 lemon, zested and juiced — The brightness agent. Fat and sweet without acid creates a cloying, one-dimensional result. The lemon juice cuts through the rendered chicken fat and balances the honey’s sweetness. The zest, added at the very end off-heat, delivers a sharp aromatic finish that makes the whole dish taste considered rather than simple.
Salt and cracked black pepper are assumed pantry staples and do not count toward the three.
The Ready-Before-They-Sit-Down Timeline
- 0:00 — Pull chicken from fridge, pat completely dry with paper towels, season skin side generously with salt and pepper
- 2:00 — Place skin-side down in a cold, dry cast iron or stainless skillet, then bring to medium-high heat
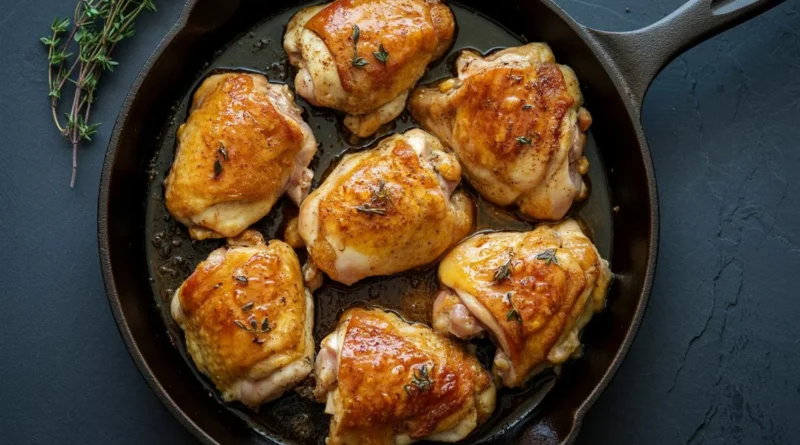
- 5:00 — Skillet is now hot, skin is beginning to render and turn golden; do not move the chicken
- 12:00 — Skin is deeply golden; flip and brush honey over the skin side
- 14:00 — Squeeze lemon juice over the pan, cover loosely with a lid or foil
- 19:00 — Remove lid, check doneness, rest chicken in pan off heat
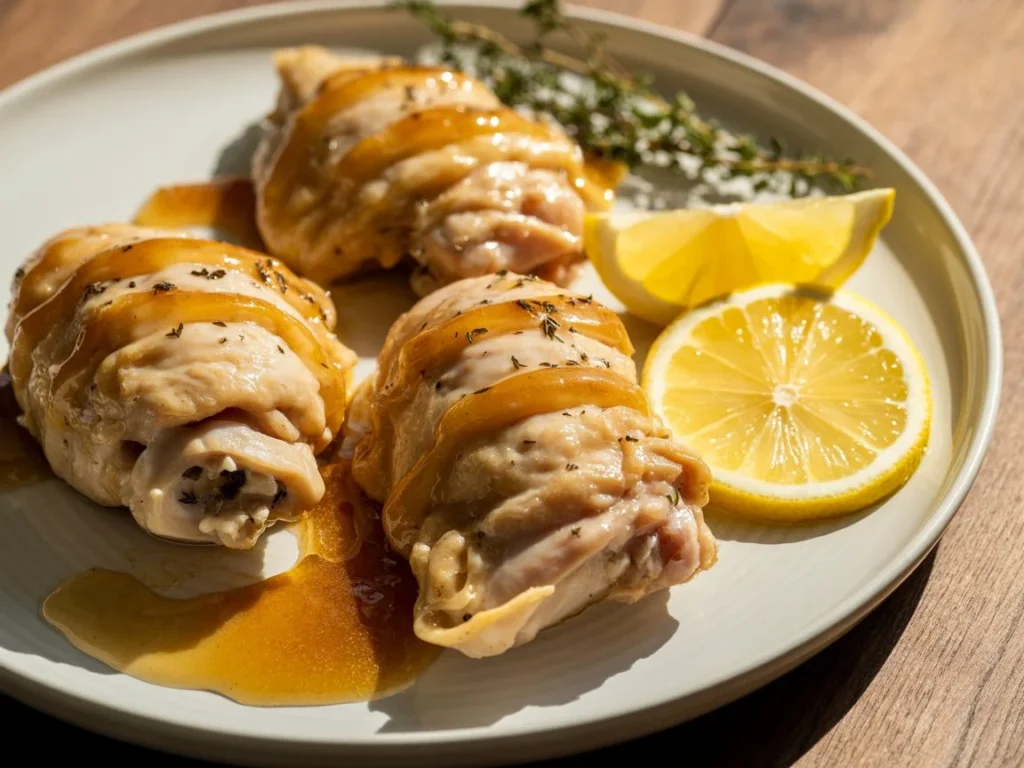
- 22:00 — Deglaze pan with a splash of water, scrape drippings into a quick sauce, add lemon zest
- 25:00 — Plate and serve
Step-by-Step Instructions
Step 1 — Dry the chicken properly Pat each thigh completely dry with paper towels — top, bottom, and sides. Surface moisture is the single biggest obstacle to a golden, caramelized crust. Wet skin steams instead of sears, and steamed chicken skin is soft, pale, and texturally unpleasant. This step takes thirty seconds and changes everything. Pro-Tip: If you have five extra minutes, leave the patted chicken uncovered on a plate in the fridge while you change out of your work clothes. The air-drying produces an even better crust than paper towels alone.
Step 2 — Start in a cold pan Place the chicken skin-side down in a cold, unoiled skillet and then turn the heat to medium-high. Starting cold allows the fat under the skin to render gradually, basting the skin from beneath as the temperature rises. This produces a deeply golden, lacquered crust rather than the pale, uneven result of dropping chicken into a pre-heated pan. Pro-Tip: Do not press the chicken down and do not move it. Resistance when you try to lift the chicken means the crust is still forming. When it releases cleanly, it is ready to flip — the pan is telling you.
Step 3 — Flip and apply the honey glaze Once the skin is deeply golden — around 10 to 12 minutes depending on thigh size — flip the chicken and immediately brush the honey over the skin side using a pastry brush or the back of a spoon. The hot rendered fat in the pan will begin caramelizing the honey almost immediately. Pro-Tip: Warm the honey for 15 seconds in a small bowl before brushing. Cold honey is thick and drags rather than coating evenly, which produces patchy caramelization rather than a uniform golden glaze.
Step 4 — Add lemon and cover Squeeze the lemon juice directly into the pan — it will hiss and steam against the hot fat, lifting any caramelized bits from the surface and creating an instant pan sauce base. Cover loosely and reduce heat to medium. The steam finishes cooking the interior without drying the surface. Pro-Tip: Loose covering matters. A tight lid traps too much steam, softens the crust you just built, and stalls the caramelization. Leave a small gap for steam to escape.
Step 5 — Rest before cutting Remove the pan from heat and let the chicken rest, uncovered, for three to four minutes. Cutting immediately releases the juices that have been driven to the center of the meat by the heat. Resting allows them to redistribute back through the flesh — which is the difference between a juicy interior and a dry one regardless of how carefully you cooked it. Pro-Tip: Rest the chicken in the pan, not on a board. The residual pan heat keeps it warm while the board wicks heat away quickly, especially in a cold kitchen.
Step 6 — Deglaze the drippings into a sauce With the chicken resting, return the pan to low heat and add two tablespoons of water or chicken stock. Scrape every caramelized bit from the base of the pan — this is concentrated, golden flavor that should not be left behind. Add the lemon zest off-heat and spoon the sauce directly over the plated chicken. Pro-Tip: The lemon zest must go in off-heat. Heat destroys the volatile citrus oils in the zest within seconds, leaving only bitterness. Off-heat application preserves the bright, aromatic finish that makes the dish taste deliberately crafted.
The Doneness Checkpoint
Press the thickest part of the thigh gently with a finger. Significant give means it needs more time. Firm with slight spring means it is done. Pierce near the bone — the juices should run completely clear with no pink. For those using a thermometer, 165°F at the thickest point away from the bone is the standard. Visually, the meat should pull slightly away from the bone at the joint when the thigh is lifted.
Three Glaze Variations, Same Technique
Honey-soy version: Replace one tablespoon of the honey with soy sauce. The salt in the soy deepens the caramelization and adds an umami layer that makes the dish taste considerably more complex. Whole-grain mustard version: Swap honey for two tablespoons of whole-grain mustard mixed with one teaspoon of maple syrup. The mustard seeds pop against the hot fat and produce a textured, tangy crust with a tender, yielding interior. Tomato-garlic version: Replace honey with two tablespoons of tomato paste and one minced garlic clove. The tomato paste caramelizes beautifully against the rendered fat and produces a savory, deeply golden result that tastes slow-cooked.
The Family Plate Strategy
For younger children, slice the chicken off the bone before plating and fan the pieces out so the golden skin stays visible and appealing. Spoon the pan sauce over the top rather than pooling it underneath — sauce underneath soaks into whatever starch you’re serving alongside, which some children find texturally off-putting. The pan sauce also works as a dipping element for older kids who prefer to control their own seasoning at the table.
What to Serve Alongside
Start a pot of rice at the same moment the chicken hits the pan — by the time the chicken has cooked, rested, and been plated, the rice is ready. Alternatively, halve a cucumber, dress it with a spoonful of yogurt and a pinch of salt, and it is on the table in ninety seconds. Both sides complement the juicy, golden, tender chicken without adding meaningful prep time or a second zone of cooking attention.
Storage and the Next-Day Lunch
Store leftover chicken in an airtight container for up to three days. To reheat without drying, place in a covered skillet over low heat with one tablespoon of water for four to five minutes. The steam rehydrates the surface while the low heat warms the interior gently. Cold sliced thigh meat the next day — pulled off the bone, layered into a roll with mustard and a few leaves — makes a considerably better lunch than it has any right to be given that it took twenty-five minutes to cook the night before.
The method here — dry protein, cold-pan render, glaze at the flip, acid to deglaze — works across every variation listed above and dozens more you will invent on your own once you understand why each step exists. This is not a recipe to follow once and forget. It is a weeknight framework to memorize. Save the pin, try your preferred glaze variation tonight, and leave a note in the comments about how quickly it disappeared from the table.


