Easy Snack Recipes: 10 Crispy Golden Bites Kids Beg For
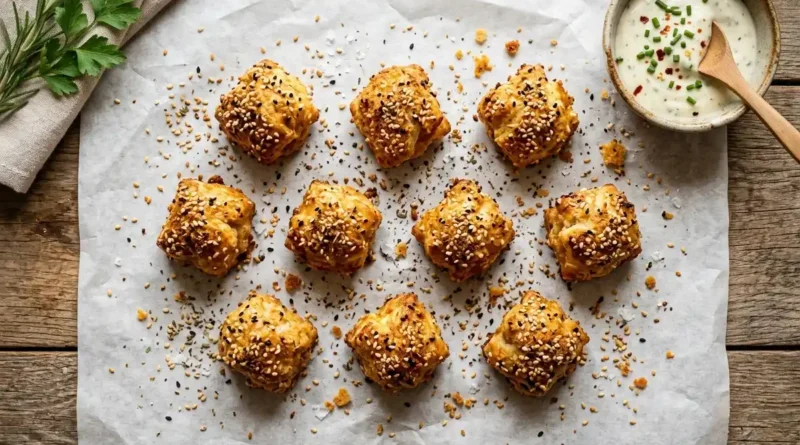
You already know the vending machine tax — that quiet $1.50 drain every school day, multiplied by however many kids you’re feeding. However, the real cost isn’t financial. It’s the dull, soft, aggressively salted processed snacks that have replaced what crunchy food is actually supposed to taste like. These 10 easy snack recipes cost less than $1 per batch, take no more than 20 minutes from start to finish, and deliver the kind of crispy, golden, genuinely satisfying crunch that makes kids walk past the chip aisle without a second glance. Specifically, each recipe below gives you a repeatable formula — not a one-time project — so snack time stops being a negotiation.
Why These Easy Snack Recipes Beat the Store Shelf Every Time
Packaged snacks survive shipping, warehousing, and a 12-month shelf life. Consequently, manufacturers sacrifice texture early — most of that initial crunch disappears within days of packaging. Homemade snacks, however, go directly from your oven or pan to your kid’s hand. The crispiness is real because it was never engineered to last six months.
Beyond texture, homemade gives you ingredient control. You decide the oil, the salt level, and whether cheese means actual cheese or a flavoring powder. Additionally, the cost arithmetic is genuinely shocking once you run it: a full batch of baked parmesan zucchini crisps costs roughly $0.65. A comparable bag at the store runs $3.49. Therefore, the savings across a school week alone cover the ingredients for multiple batches.
The Golden Formula: What Makes a Snack Truly Crispy
Before diving into the recipes, it helps to understand the culinary mechanic behind crispiness. Specifically, three variables control the outcome every time.
Surface moisture removal: Moisture is the enemy of crunch. Before baking any vegetable-based snack, pat the slices thoroughly dry with a paper towel. Even better, salt them lightly, let them sit for 10 minutes, then blot again. This draws out internal water before heat does, which means the oven works on browning rather than steaming.
The Maillard reaction: This is the chemical process responsible for golden color and deep savory flavor. It activates above 280°F (138°C), but really accelerates between 375°F and 425°F. Consequently, you should never crowd a baking sheet — overlapping pieces trap steam and prevent browning entirely. Use two sheets and rotate them halfway through.
Fat distribution: A thin, even coat of oil allows heat to transfer uniformly across the surface. Brush or toss rather than drizzle — uneven fat means uneven crunch.
10 Easy Snack Recipes That Are Crispy, Crunchy, and Kid-Approved
1. Mini Cheese Quesadilla Triangles
Cut small flour tortillas into quarters, fill with a thin layer of shredded cheddar, and press them shut. Cook in a dry non-stick pan over medium-high heat for 90 seconds per side until the exterior blisters and crisps. The fat in the cheese self-bastes the tortilla from the inside, creating a shatteringly crunchy shell. **Pro tip:** Let them rest on a wire rack, not a plate — trapped steam softens the bottom immediately.
2. Baked Parmesan Zucchini Crisps
Slice zucchini paper-thin (a mandoline makes this effortless), salt and blot dry, then toss with olive oil and grated parmesan. Bake at 425°F for 18–20 minutes, flipping once. The parmesan caramelizes into a lacy, golden crust that makes these taste closer to a chip than a vegetable. Cost per batch: approximately $0.60.
3. Honey-Glazed Popcorn Clusters
Pop plain kernels, then toss immediately with a mixture of melted butter, honey, and a pinch of flaky salt. Spread onto parchment and bake at 300°F for 12 minutes. The honey caramelizes into a brittle, glossy shell that clusters the popcorn into satisfying crunchy clumps. These store beautifully in a sealed jar for three days.
Kitchen Trial Note: I tested Recipe #3 on a Tuesday afternoon with both my kids watching. My first batch burned within 10 minutes at 325°F — the honey darkened faster than expected. Dropping to 300°F and pulling at 12 minutes was the fix. My 7-year-old ate half the tray before it cooled, which I’m choosing to count as a successful quality-control test. The important detail: spread the clusters in a single layer immediately after tossing, or they fuse into one giant slab.
4. Crunchy Peanut Butter Oat Balls
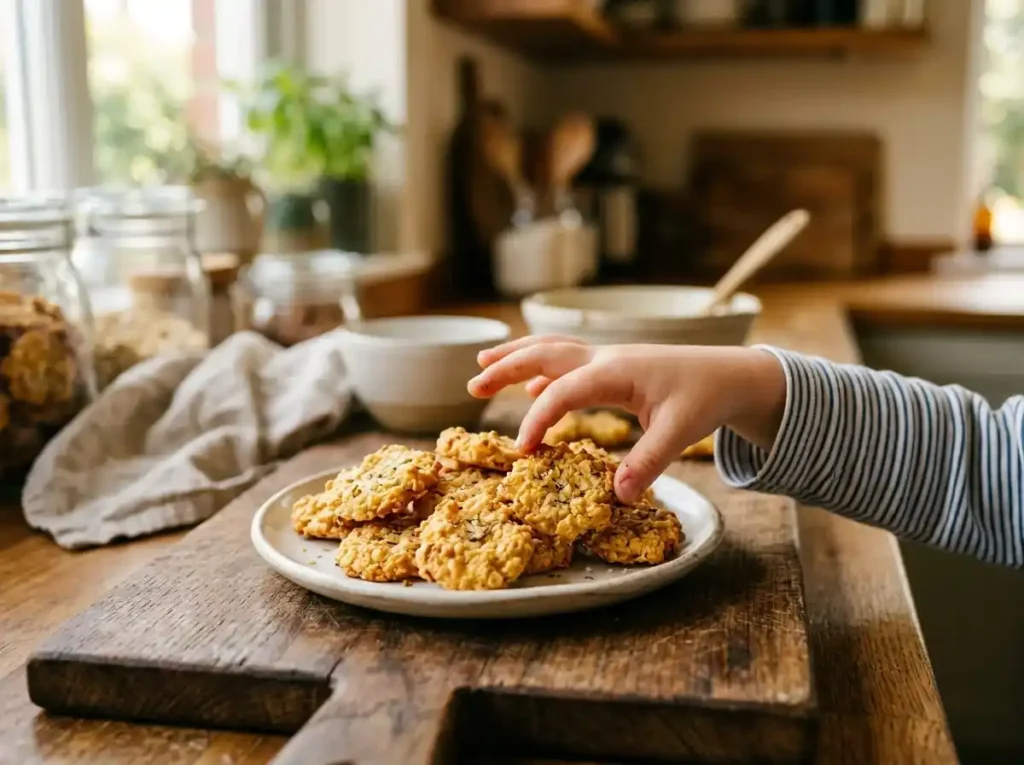
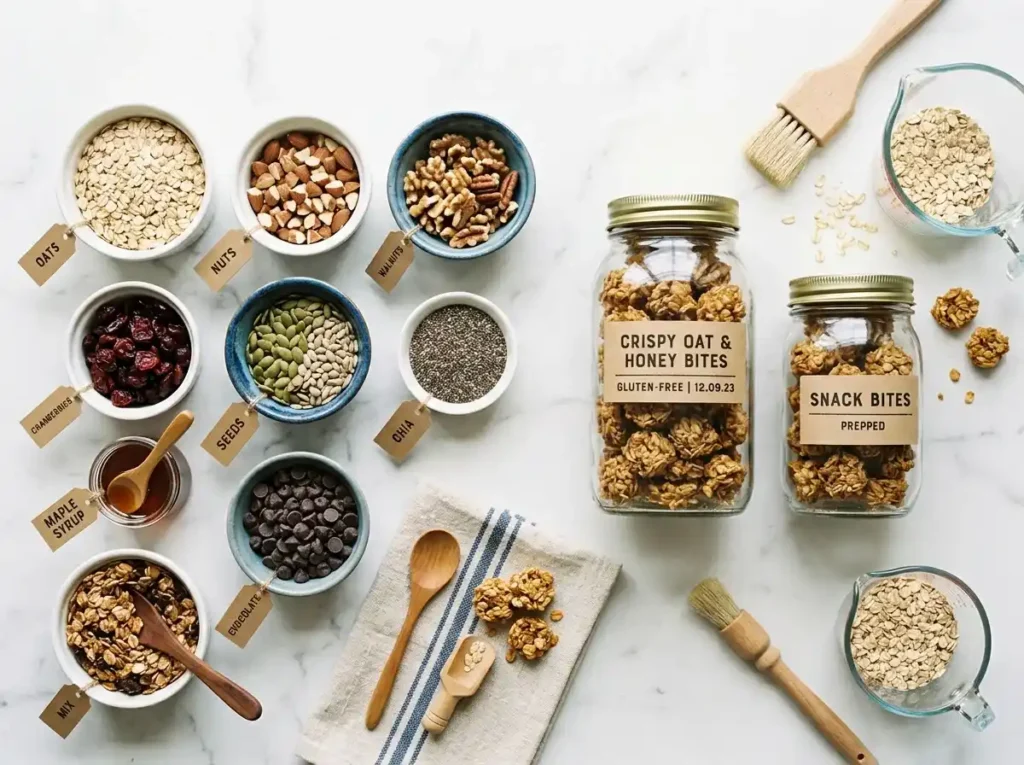
Combine rolled oats, natural peanut butter, honey, and mini chocolate chips. Roll into golf-ball-sized rounds and refrigerate for 20 minutes. No baking required. The oats deliver a satisfying chew-crunch texture, and the peanut butter binds everything without any added flour. Each ball costs roughly $0.12 to make. **Pro tip:** Toast the oats in a dry pan for 3 minutes first — it dramatically deepens the flavor.
5. Golden Baked Mozzarella Sticks
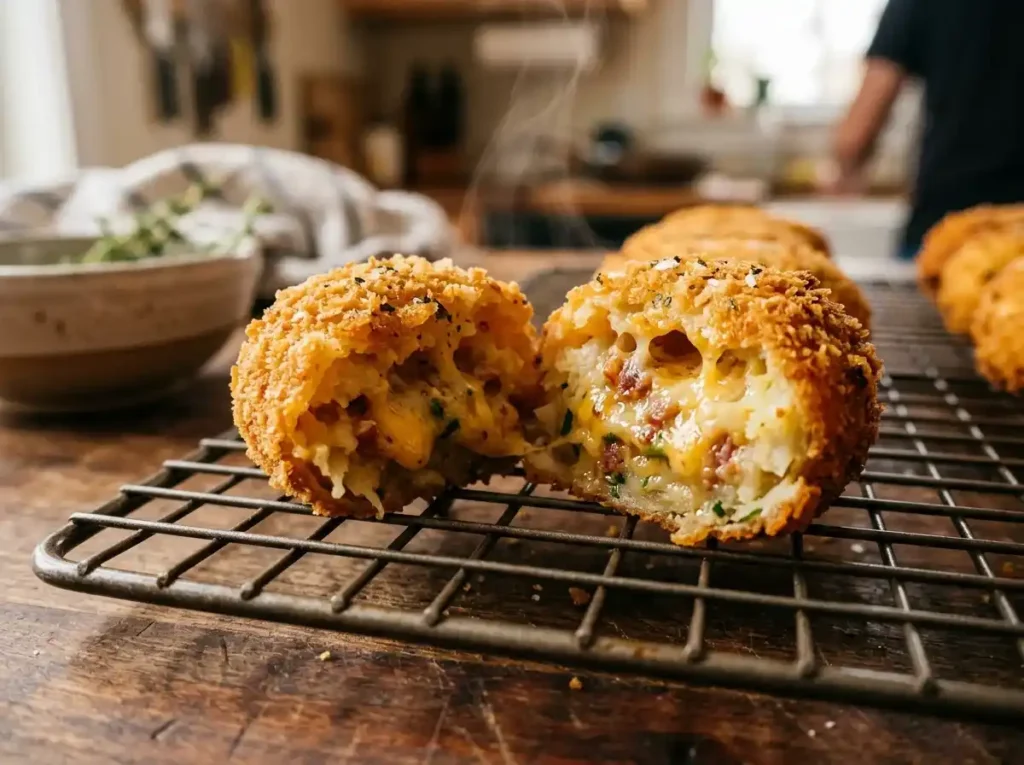
Dip string cheese in beaten egg, then press into a mixture of panko breadcrumbs and Italian seasoning. Freeze for 30 minutes (this is non-negotiable — it prevents blowout), then bake at 400°F for 10 minutes. The panko creates an aggressive, golden crunch that packaged mozzarella sticks never achieve.
6. Crispy Chickpea Snack Cups
Drain and dry a can of chickpeas thoroughly, then toss with olive oil, smoked paprika, cumin, and salt. Roast at 400°F for 30–35 minutes, shaking the pan every 10 minutes. The exterior crisps into a satisfying shell while the inside stays slightly creamy. Serve in small cups — kids eat them like popcorn.
7. Air-Fried Apple Chips with Cinnamon Sugar
Core and slice apples to 1/8-inch thickness, then toss in a mixture of cinnamon, sugar, and a squeeze of lemon juice. Air fry at 300°F for 15 minutes, flipping halfway. The result is a translucent, crispy chip with concentrated natural sweetness. Specifically, Fuji or Honeycrisp apples produce the best texture because of their lower water content.
8. Mini Pizza Bagel Bites
Halve mini bagels, spread with a thin layer of pizza sauce, top with shredded mozzarella and one small pepperoni. Bake at 400°F for 8 minutes. The bagel crust crisps underneath while the cheese bubbles on top — a combination that reliably converts even the most skeptical kid. Cost per serving of four: $0.55.
9. Crunchy Ants-on-a-Log Upgrade
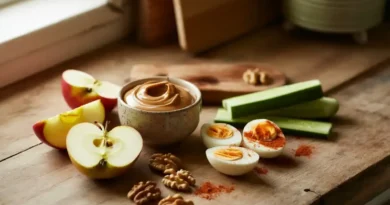
The classic is good. However, this version is better: swap regular peanut butter for crunchy peanut butter, add granola instead of raisins, and finish with a drizzle of honey. The granola creates a textural contrast that makes each bite genuinely exciting rather than merely adequate. No cooking required, and assembly takes under three minutes.
10. Baked Ranch Tortilla Chips
Cut corn tortillas into triangles, brush lightly with oil, and dust with a blend of dried dill, garlic powder, onion powder, and buttermilk powder. Bake at 375°F for 12 minutes. These cost $0.40 per batch — making them the most economical recipe on this list and a direct replacement for the $3 ranch chip bags that disappear in one sitting.
How to Build a Weekly Snack Rotation (Without Losing Your Mind)
The goal is batch logic, not daily cooking. Consequently, choose three recipes on Sunday and prep them in parallel. Recipes 3, 4, and 10 are ideal starters because they require no special equipment and store well for 4–5 days.
Storage Tips to Keep Every Snack Crispy for Days
Store baked snacks in an airtight container with a sheet of paper towel on the bottom — it absorbs ambient moisture without softening the snack itself. Additionally, avoid refrigerating crispy snacks unless the recipe specifically requires it; cold air is humid air, and humidity kills crunch. If a snack has softened by day two, re-crisp it in a 375°F oven for 5 minutes. It returns to full crunch within minutes.
Ingredient Swaps for Allergies and Dietary Needs
| Ingredient | Gluten-Free Swap | Nut-Free Swap | Dairy-Free Swap |
|---|---|---|---|
| Flour tortillas | Corn tortillas | No change needed | No change needed |
| Panko breadcrumbs | Crushed rice crackers | No change needed | No change needed |
| Peanut butter | Sunflower seed butter | Sunflower seed butter | No change needed |
| Parmesan | Nutritional yeast + salt | No change needed | Nutritional yeast + salt |
| Mozzarella | Dairy-free mozzarella shreds | No change needed | Dairy-free mozzarella shreds |
Frequently Asked Questions About Easy Snack Recipes for Kids
How do I keep snacks crispy in lunchboxes?
Pack crispy snacks separately from any moist items. Use a small rigid container rather than a zip bag — bags allow compression, which cracks the crunch coating and traps steam.
Can I make these easy snack recipes ahead of time?
Yes. Recipes 3, 4, 6, and 10 all prep well 3–5 days in advance. Recipes 1, 5, and 8 are best made fresh or re-crisped before serving.
Are these recipes suitable for toddlers?
Recipes 4, 7, and 9 are ideal for toddlers aged 18 months and up. However, always supervise young children with any snack that contains small, hard pieces like chickpeas or popcorn.
Are these easy snack recipes freezable?
Recipes 4 and 5 freeze exceptionally well. Freeze mozzarella sticks before baking and bake directly from frozen. Freeze oat balls after shaping and thaw for 10 minutes before serving.