
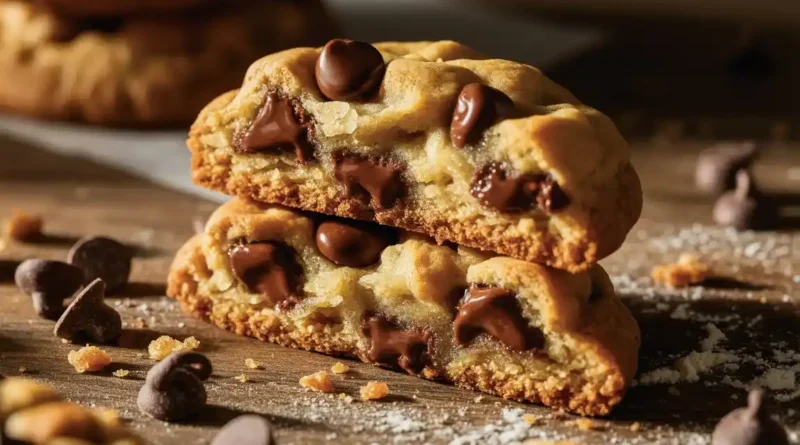
The Cookie Science Nobody Teaches You: Crispy Edges, Pillowy Soft Center, Every Single Time
You bite in. The edge snaps — that satisfying, paper-thin crisp that resists just enough before giving way. Then the center arrives: soft, fluffy, almost cloud-like, warm enough to still pull slightly. Two textures. One cookie. And somehow, most recipes on the internet have never once explained how to build both — on purpose.
This is not a happy accident. It is architecture. And once you understand the science behind it, you will never bake a one-note cookie again.
Kitchen Trial Note
When I first set out to crack the crispy-edge, soft-center code, I genuinely believed it was about baking time alone. Pull them early — soft. Leave them longer — crispy. Simple, right?
Wrong.
I baked six batches over two weekends, changing exactly one variable per batch: butter temperature, sugar ratio, flour measurement method, cornstarch addition, chill time, and oven rack position. Batch three was a flat, greasy disaster. Batch five looked perfect but turned uniformly cakey inside. It was not until batch six — when I combined browned butter, a 60/40 brown-to-white sugar ratio, one teaspoon of cornstarch, and a 45-minute chill — that the cookie finally delivered: a genuinely crispy outer edge folding into a center so soft and fluffy it almost felt like a different baked good entirely.
That batch disappeared in eleven minutes. I timed it.
Why This Works: The Gap Nobody Fills
Search “soft cookie recipe” on Pinterest and you will find hundreds of results. Search “crispy cookie recipe” — same story. But search for a cookie engineered to be both simultaneously? The results thin out fast, and almost none of them explain the science.
Here is the truth: the edge and the center of a cookie are two separate thermal environments. The edge sits in direct contact with the hot metal pan and the circulating oven air. It loses moisture rapidly, undergoes the Maillard reaction — that chemical browning that creates flavor and crispiness — and sets firm. The center, insulated by the surrounding dough, retains moisture far longer. It steams gently from within. If you engineer your recipe correctly, that center stays soft and fluffy long after the edge has crisped.
The fix is not one thing. It is five things working together — and the recipes currently ranking on Pinterest are only using one or two of them.
The Science, Broken Down
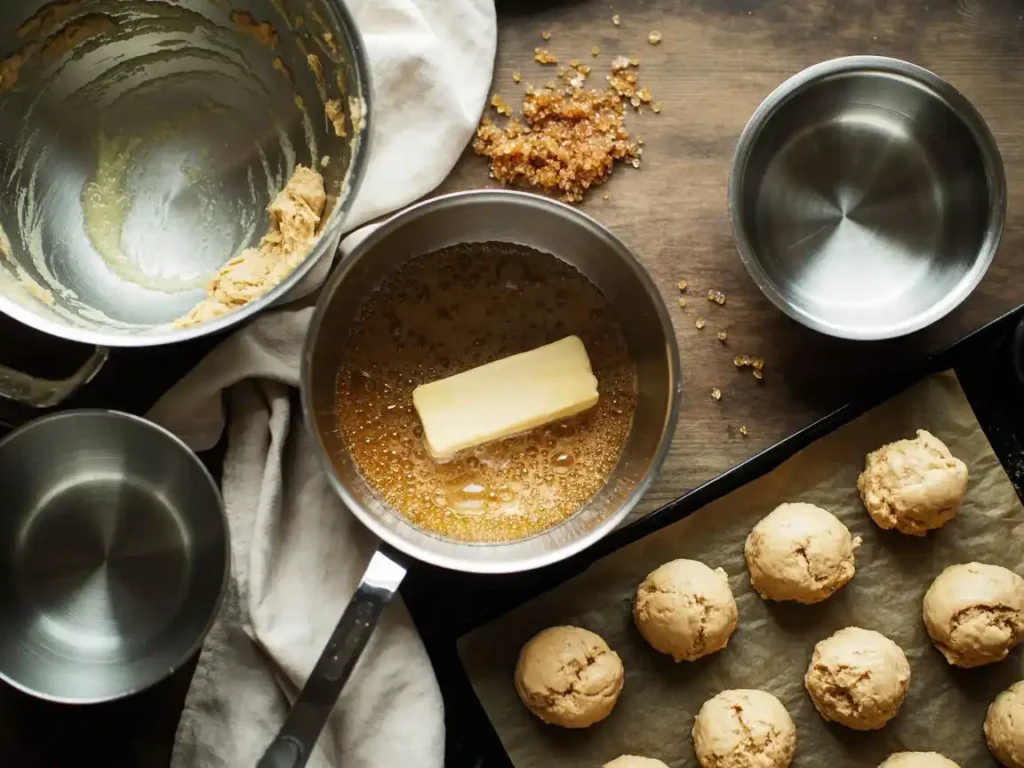
Butter: Brown It Browning butter over medium heat until the milk solids turn amber does two things. First, it develops deep, nutty flavor compounds that make the finished cookie taste more complex. Second, it removes water content from the butter, which means less steam in the dough and a crispier edge. Use browned butter, cooled to room temperature.
Pro-Tip: Swirl the pan constantly once the butter foams. The moment you smell toasted hazelnut, pull it off the heat. It moves from browned to burned in under thirty seconds.
Sugar: The 60/40 Rule White sugar is hygroscopic and promotes spread and crispiness. Brown sugar contains molasses, which is acidic and retains moisture — keeping the center fluffy and chewy. A ratio of 60% brown sugar to 40% white sugar gives you the textural split you are looking for. Most standard recipes use a 50/50 split, which produces a more uniform, one-texture cookie.
Pro-Tip: Pack your brown sugar firmly when measuring by cup. Loose brown sugar can reduce the moisture contribution by up to 20%.
Cornstarch: The Secret Lever One teaspoon of cornstarch added to your flour mixture interferes with gluten development in the center of the cookie. Less gluten = softer, more tender crumb. The edges, which bake faster and lose moisture quickly, are not affected in the same way. The result: crispy perimeter, fluffy interior — without changing the recipe’s flavor profile at all.
Pro-Tip: Whisk cornstarch directly into your dry ingredients before adding to the wet mixture. Clumping will create inconsistent texture pockets.
Flour: Weigh It The spoon-and-level method versus the scoop-and-pack method can produce a 20-25% variance in flour volume. That discrepancy alone can be the difference between a soft, fluffy cookie and a dense, cakey one. Weighing flour in grams is the professional standard for a reason. For this recipe: 210 grams of all-purpose flour, every time.
Chill Time: Non-Negotiable Resting your dough for a minimum of 45 minutes — or overnight — allows the fat to resolidify. When cold dough hits a hot oven, the edges spread more slowly, giving the cookie height. A taller cookie has more distinction between its edge and center, amplifying the textural contrast you are building toward.
The Full Recipe
Prep Time: 15 minutes | Chill Time: 45 minutes | Bake Time: 11 minutes | Yield: 16 cookies
Ingredients
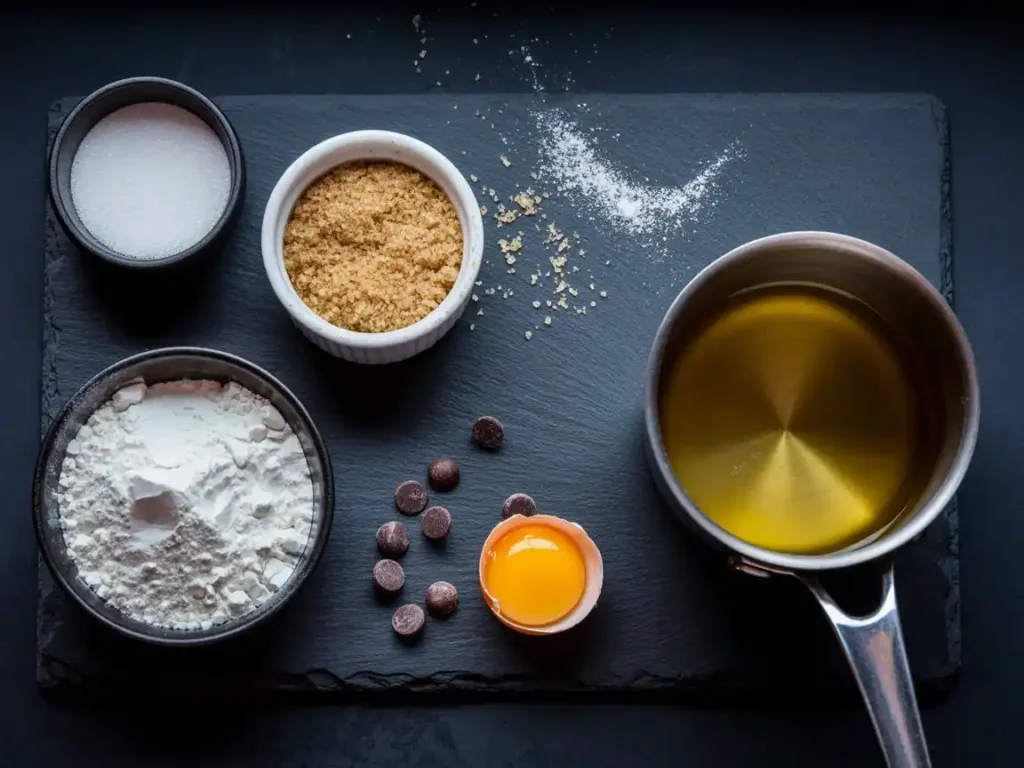
- 170g unsalted butter, browned and cooled
- 150g brown sugar (packed)
- 100g white granulated sugar
- 1 large egg + 1 egg yolk
- 2 tsp pure vanilla extract
- 210g all-purpose flour
- 1 tsp cornstarch
- ¾ tsp baking soda
- ½ tsp fine sea salt
- 200g semi-sweet chocolate chips
Instructions
- Brown your butter in a light-colored saucepan over medium heat, swirling constantly. Once amber and nutty-smelling, pour into a large mixing bowl and cool for 10 minutes.
- Whisk both sugars into the cooled browned butter until fully combined and slightly glossy.
- Add the whole egg, egg yolk, and vanilla. Whisk vigorously for 60 full seconds — this builds structure and creates a slightly fluffy emulsion in the batter. Pro-Tip: Sixty seconds feels long. Do it anyway. This step creates the glossy, slightly lifted texture you see on professional cookies.
- In a separate bowl, whisk together flour, cornstarch, baking soda, and salt. Fold the dry ingredients into the wet mixture using a spatula until just combined. Do not overmix.
- Fold in chocolate chips. Cover the bowl and refrigerate for a minimum of 45 minutes.
- Preheat oven to 375°F. Line a light-colored baking sheet with parchment paper. Scoop dough into balls (approximately 45g each) and space 3 inches apart.
- Bake on the center rack for 10–11 minutes. Pull the cookies when the edges are set and lightly golden but the centers still appear slightly underdone and glossy. Pro-Tip: They will continue to cook on the hot pan for 4–5 minutes after leaving the oven. Resist the urge to add time. This is where the fluffy center is protected.
- Cool on the pan for 5 minutes before transferring. Eat one warm. You have earned it.
Troubleshooting
| Problem | Likely Cause | Fix |
|---|---|---|
| Cookies spread flat | Butter too warm, no chill | Cool butter fully; chill dough 45+ min |
| Cakey center | Too much flour or whole eggs only | Weigh flour; use extra yolk |
| No crispy edge | Silicone mat, low oven temp | Switch to parchment; verify oven with thermometer |
| Pale bottom | Dark pan absorbing unevenly | Use light-colored aluminum sheet pan |
Storage
Store cooled cookies in a loosely covered container — not airtight. Airtight sealing traps humidity and softens the crispy edges within hours. Place a small piece of bread in the container to maintain moisture in the centers without compromising the edges. For longer storage, freeze unbaked dough balls and bake directly from frozen, adding 2 minutes to the bake time.
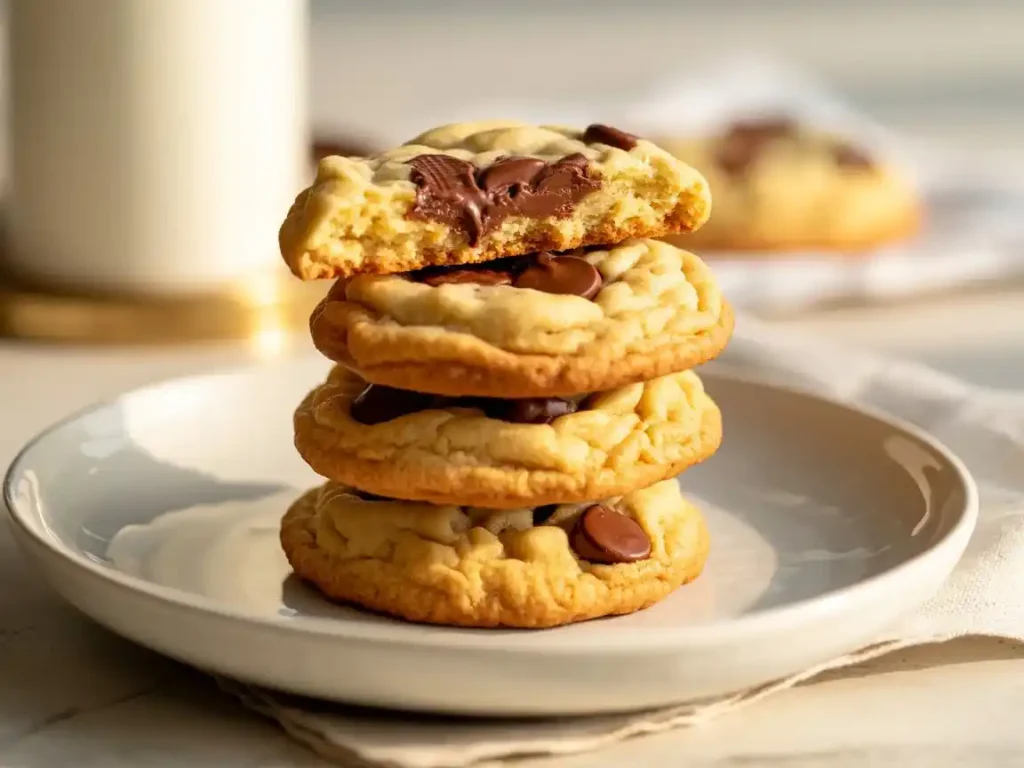
The cookie that looks simple is never actually simple. But now that you know what each ingredient is doing — and why each step is where it is — you are not following a recipe anymore. You are making a decision with every bowl, every whisk, and every minute of chill time.
Make batch six. It is the one that stays.


